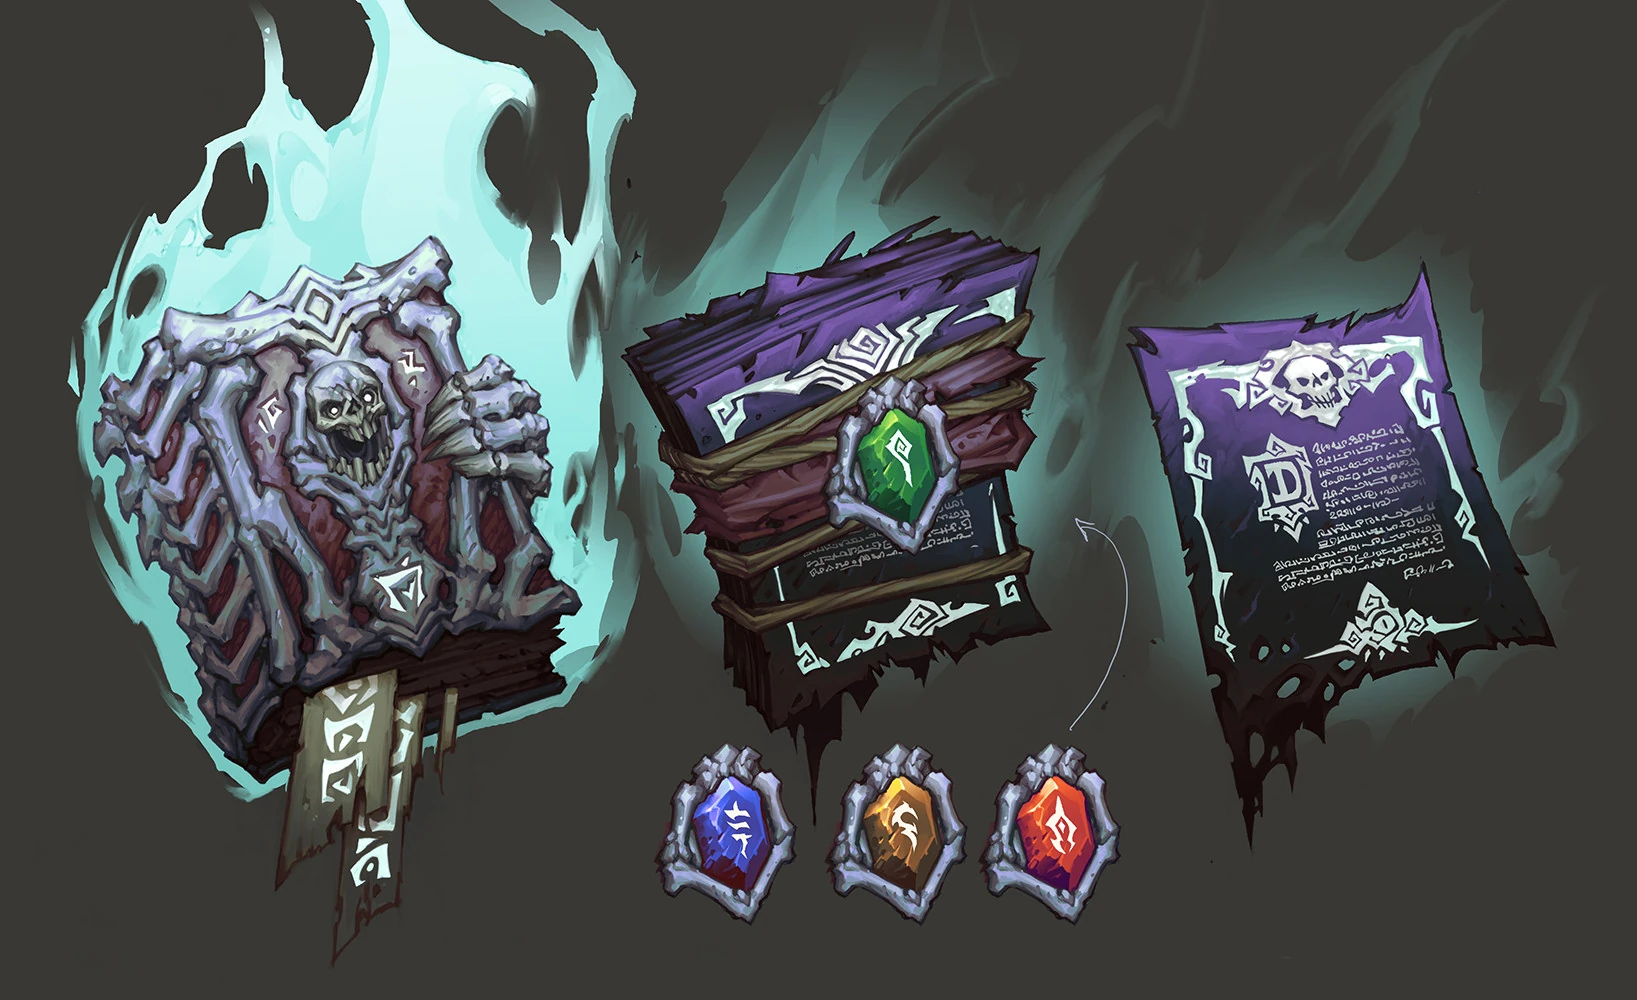
Concept art of the book and its pages.
The Book of The Dead is a side quest in Darksiders II spanning the entire game. It is given by Vulgrim upon meeting him for the first time, or by collecting a Page. Pages from the Book of the Dead must be found scattered across all of the realms. Every ten pages collected will result in them being compiled into a Chapter from the Book of the Dead, which can then be sold to Vulgrim in exchange for a key to a Death Tomb. There are 4 Chapters total and therefore 4 keys to obtain. There is a Death Tomb in each of the four realms (The Forge Lands, The Kingdom of the Dead, Lostlight, and Shadow's Edge ), each containing multiple treasure chests, as well as a few Legendary items. Opening all four Death Tombs will grant the achievement "Abracadabra" as well.
Locations of the Book of the Dead Pages[]
The Forge Lands[]
- Stonefather's Vale: At the northern end of the area, near the Bloodless.
- Baneswood: Behind the large Maker statue in the small ruins on the eastern edge of the area.
- The Cauldron: 1F, southeast corner of the room with two energy spheres (those things you have to roll into recesses in the ground, to open gates or doors).
- The Cauldron: 2F, to the right of the crank that opens the giant cauldron, behind some crates.
- The Drenchfort: 1F, Central room. Run along the wall behind the construct to find a niche with the page.
- The Drenchfort: 1F, Western Area. On a ledge in the west-central room. You can wallrun from the highest wooden ledge and jump to it, or wait until water flows through the room and just jump up from the water.
- The Shattered Forge: 2F, In the easternmost room, NW corner behind a crate.
- The Lost Temple: 1F, southernmost room. Behind a gate unlocked when the exit to room is opened.
- The Lost Temple: 2F, Traverse the beams to reach a small side room with the page.
- The Foundry: 2F, Just after obtaining Deathgrip. West side of the room on a ledge accessible by a hidden path in the chasm.
- The Weeping Crag: B1, In long stairwell going to water. Page is on a high ledge accessible by wall-running the length of the room.
- The Nook: 2F, Courtyard. Behind corruption in a niche high on the western wall accessible by Deathgrip.
- The Fjord: (Soul Splitter) In ruins up windy path at eastern end of Fjord.
- The Scar: 1F, in room with skeleton key. From the key, turn back the way you came and traverse the wall grips back around to a high ledge with the page.
- The Fjord: (Void Walker) Above Vulgrim in a small room. Note: If one looks to the corner and moves so that their right side is up against the wall and their front as close to the page as possible, it it possible to collect this page with just Deathgrip without having to clear the corruption blocking it.
The Kingdom of the Dead[]
- The Spine: East end of bridge to City of the Dead, near round dais with two braziers.
- The Gilded Arena: Just outside the entrance from the Eternal Throne, left side of door.
- The Gilded Arena: 2F - In the westernmost round room, use lantern statue to activate the bridge to the page.
- Phariseer's Tomb: 4F - Behind large statue, easternmost room.
- Phariseer's Tomb: 1F - Eastern room, in alcove on north wall just inside room; accessible by Death Grip.
- Judicator's Tomb: 1F, East Wing - On pile of bones in northern room, narrow hallway.
- Judicator's Tomb: 2F, East Wing - In tower to second soul, on broken stairwell in NE corner.
- Judicator's Tomb: 4F, South Wing - South end of boss room near stairs.
- City of the Dead: 1F - SE corner of third room from entrance.
- City of the Dead: 2F - SE corner near crank in rotating bridge room.
- City of the Dead: 1F - Western room with lantern statue, south side, behind gate.
- City of the Dead: 4F - In crate with scarabs in east room just after skeleton key door.
Lostlight[]
- Outside the Crystal Spire: To the Right just before heading over the bridge to the Crystal Spire.
- Earth: 1F - Behind a set of hell spikes just before going into an underground tunnel when searching for the first piece of the Rod of Arafel.
- Earth: B1 - Just above the stairs after getting the first piece of the Rod of Arafel. DeathGrip required.
- Earth: 1F - just after speaking a second time to Uriel, turn left when arriving in a narrow hallway.
- Earth: B1 - after 2nd piece the rod, leave the tunnel, behind the truck next to a hellguard on the left before speaking a thrid time to Uriel
- Earth: F1 inside a shop window, on the south east end of the map.
- Ivory Citadel: 2F westernmost circular room. Outside to the south, behind some spiderweb corruption.
- Ivory Citadel: 2F northwestern room with corruption clearing relic and Void Walker portal space, broken path to the west
Shadow's Edge[]
- Outside the Black Stone: On the path between the Serpent Tome and Ostegoth, climb the right side of the wall. The page is to the left of the pressure plate.
- Black Stone Present: Lilith's Chamber, eastmost side of the chamber behind the throne
- Black Stone Past: The page can be found in the north-eastern part of the Black Stone, right after you finish climbing the shaft
- Black Stone Present: (Void Walker) 1F Western section SE corner of the big northernmost platform behind a pillar
- Black Stone Present: (Void Walker) B1 NE platform
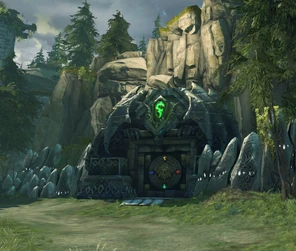
Locations of the Death Tombs[]

Death Tomb
- Forge Lands - In front of the entrance to the Lost Temple
- Kingdom of the Dead - The bottom floor of the Lair of the Deposed King
- Lostlight - Along the western wall of the passage between the Tree of Life and the Crystal Spire
- Shadow's Edge - Along the eastern wall of the passage between Ostegoth and The Black Stone
Video[]
 (27 KB)")
Gallery[]
")